And so to while the time, I am putting in here a tutorial on a pinafore I made. I call it the "billowy pinny" - you'll see why as we go along.
So here we go:
I called it the "Billowy Pinny" because of the wave billows around the skirt. :) haha.
 |
Please find the free pattern here, it is only in size 2 though, https://docs.google.com/file/d/0B-E_yAW6AU4iQ24xR29hMk9oVkE/edit If you were able to follow through with the patterns, you will cut 6 pattern pieces as shown in the illustration below. |

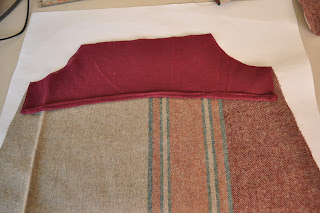
Before you attach the back facing to the back bodice, make sure you hem the bottom part of the facing.
Cut your straps on fold, stitch them, serge/overlock to avoid fraying, as I used wool material. Turn inside out.
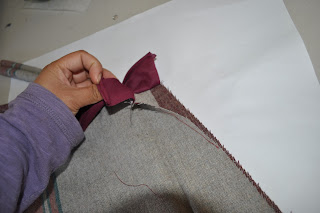
Sandwich your straps between the back facing and back bodice. Straps should be pointing downwards.
Stitch in place from the armhole, top of chest and down to the next armhole.
Turn inside out and top stitch around.
Do the steps on the front bodice but not attaching the straps, as the straps will later attach to front bodice by buttons.
It's time to attach front and back bodice sides. Make sure sure to flip up the facing before attaching sides, right sides together please.
The sides should be looking like this, now overlock the edges.
When attached, the inside seams of the bodice should look like this.
 Front and back bodice attached front view.
Make sure to topstitch ends of straps.
You may attach the buttonholes at this time.
Cut two bands of the main fabric:
1- 3.5"x32"
1- 2.5"x32"
Don't forget to cut another band of the contrast fabric in 3.5"x32".
Attach contrast fabric to main fabric with a straight stitch.
I opted to zigzag the hem of the bands. You may of course overlock them, but make sure you use a matching thread.
 |
| Attach the bands together. |
 |
| Add caption |
with the bands stitched together, gather your skirt before attaching to the bodice.
You may put embellishments just like I did with the ribbon tied around the skirts.
Now you go try them on your little girl and gow bilowy pinny!
I enjoyed making this dress, I hope you will too! Cheers!


No comments:
Post a Comment